My mother was a 30-year-old new mom when she made her first batch of Italian lemon egg biscuits. She wrapped a few in cellophane and gave them to my older brother to give to his kindergarten teacher. The story goes that the teacher called up my mom begging for the recipe, claiming they were the best cookies she had ever tasted.
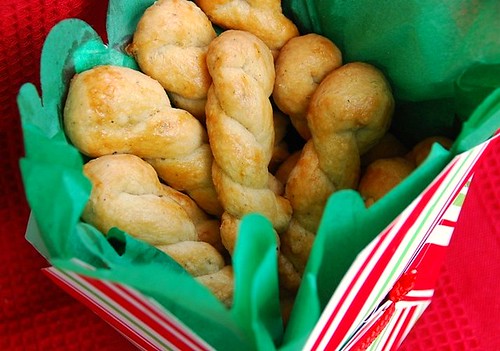
Since that day, my mom has baked thousands of lemon egg biscuits. Infused with lemon extract and coated with a sweet, crunchy lemon icing, these cookies are light, cakey and refreshingly citrusy. They're a perennial favorite in her Christmas cookie trays; they appear at every family birthday party; and they grace the dessert table every Easter Sunday.
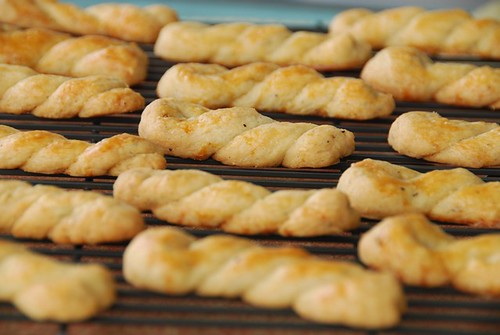
The kids in our family have always adored lemon egg biscuits. I grew up making them with my mom, and now she is passing on the tradition to her granddaughters. The dough is soft, springy, and easy to roll, making it ideal for children's little hands. The best part is icing and decorating the cookies. Kids love to watch the confectioners' sugar and milk transform into a smooth, creamy white, sweet icing as they stir and stir. Of course, nothing pleases them more than dipping the cookies in the icing and decorating them with loads of colored candy sprinkles.
So today's post is for my nieces, Jessica and Alexandra. Girls, please ask Daddy to print up this recipe, and put it in a safe place. There will come a day, maybe in 2070 when you'll pass it on to your granddaughters. You can tell them, "This recipe is 100 years old, and it's from your Mimi who made the world's best cookies."
Italian Lemon Egg Biscuits
Makes 72 cookies
Print recipe only here.
Cookie Dough:
6 cups all-purpose flour
1 1/2 cups granulated sugar
3 tablespoons baking powder
1 teaspoon salt
6 large eggs
4 tablespoons lemon extract
1 cup canola oil
1/2 cup whole milk
Lemon Icing:
2 1/2 cups confectioners' sugar
2 tablespoons lemon extract
A few drops of whole milk
Colored candy sprinkles (optional)
1. Preheat the oven to 325 degrees, and position a rack in the center of the oven. Line four large cookie sheets with parchment paper.
2. In a large bowl, mix flour, sugar, baking powder and salt.
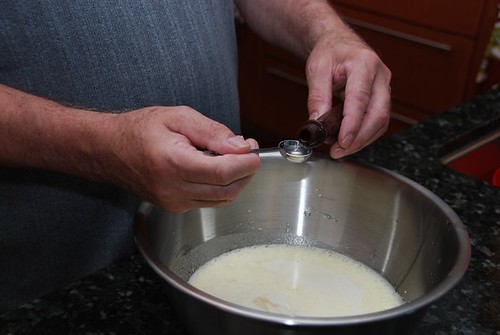
3. In a small bowl, lightly whisk eggs, lemon extract, oil and milk.
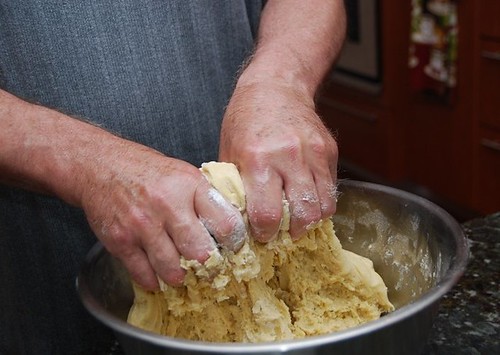
4. Add the wet ingredients to the dry ingredients. Using a rubber spatula, mix until a dough starts to form. Using your hands, lightly squeeze and knead the dough. If it seems a bit dry, then add 1 teaspoon of milk at a time until it reaches desired consistency. The dough should be somewhat sticky and elastic.
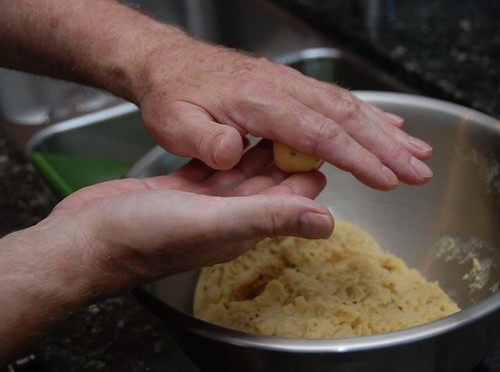
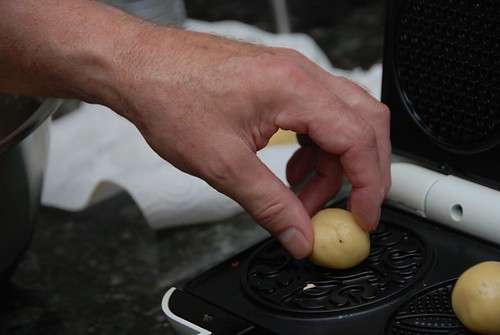
5. Scoop 1 tablespoon of cookie dough and roll between lightly floured palms until a smooth ball forms. Place the balls on a parchment-lined baking sheet 2 inches apart.
6. Bake cookies for 15 to 20 minutes, or until lightly browned on the bottoms. The tops will be white but cooked through. Transfer to a rack and cool completely before frosting.
7. To make the icing, whisk the confectioners' sugar and the lemon extract in a small bowl. Add a few drops of milk and continue whisking until the icing is smooth and opaque and clings to the back of a spoon. Taste and add more lemon extract and/or confectioners' sugar, if desired. When it's ready, pour icing through a fine-mesh sieve to remove any tiny clumps of confectioners' sugar.
8. For easy cleanup, place a sheet of parchment paper under a cookie rack before icing cookies. Dip the top of the cookie in the icing, then place on the rack. Decorate with colored candy sprinkles, if desired. Allow to dry completely before storing in an airtight tin or plastic container. Place waxed paper or parchment paper between layers to protect the icing and sprinkles. Properly stored, cookies should last seven to 10 days.
You might also enjoy these Italian desserts:
Italian Easter Rice Pie
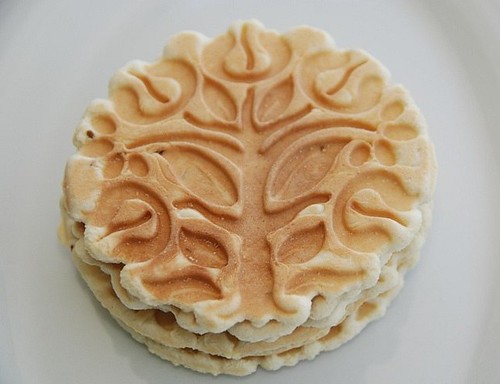
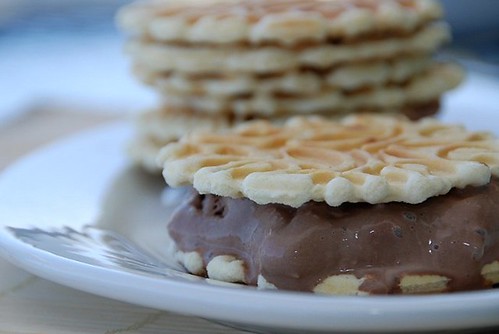
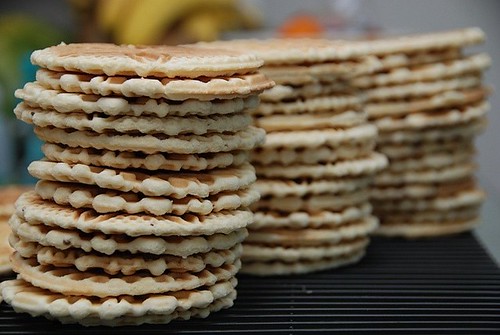
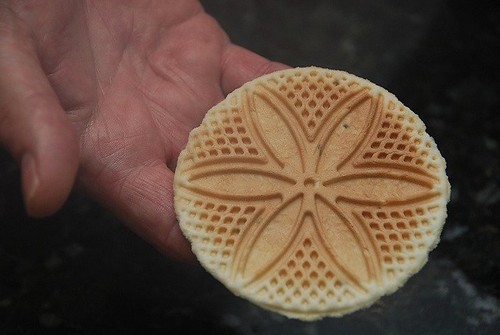
Italian Pizzelle Cookies
Italian Pepper Biscuits
Italian Pignoli (Pine Nut) Cookies
Italian Easter Ricotta Pie with Pineapple
Italian Almond Torte with Blood Orange Compote
You might also enjoy these lemon cookies:
Lemon Anise Cookies recipe at La Fuji Mama
Lemon Burst Cookies recipe at Brown Eyed Baker
Lemon Lavender Cookies recipe at Elana's Pantry
Lemon Pistachio Cookies recipe at Once Upon a Plate